Kawasaki Brute Force 750 Problems: Symptoms, Causes and Fixes
Last updated on October 18th, 2026 at 10:59 am
This post contains Amazon affiliate links. As an Amazon Associate I earn from qualifying purchases, at no extra cost to you.
The most common Kawasaki Brute Force 750 problems are overheating with a fan that never comes on, 2WD and 4WD icons that flash, a worn or slipping CVT belt, and hard starting or stalling from a weak battery or corroded wiring connectors. Kawasaki's own service manual gives a test order and real numbers for each.
Those numbers come from the Kawasaki KVF750 service manual (2008) and a 2023 Kawasaki spec sheet. Anything that comes only from owner reports is labeled that way. Later model years differ in places, so check your own owner's manual before a repair. For other quads and side-by-sides, see the general ATV and UTV troubleshooting guide.
Brute Force 750 problems by symptom
Start with the row that matches what the machine is doing. Free checks come first in every row, and the last step is the point where a meter or a dealer is needed.
| Symptom | Check first | Likely cause | Details |
|---|---|---|---|
| Temperature warning, fan not running | Radiator fins, coolant level (cold), fan motor on battery power | Packed radiator, fan breaker or connector fault, bad temperature sensor | Overheating |
| 2WD and 4WD icons flash alternately | Battery charge, controller power, speed sensor | Failed 2WD/4WD or engine brake actuator, or a wiring fault | 4WD and actuators |
| 4WD will not engage, or stalls in 4WD | Fuses and wiring connectors | Actuator, shift switch, corroded BUSS connector (owner-reported) | 4WD and actuators |
| Belt smell, power loss under load | Water or mud in the CVT housing, belt width | Wet, worn or glazed belt, weak pulley spring, worn weights | CVT belt |
| Belt light on, engine speed limited | Belt condition, converter cover switch | Worn belt or an activated belt failure switch | CVT belt |
| Slow crank, clicking, no lights | Battery 12.8 V or more, terminals, 30 A main fuse | Weak battery, poor ground, corroded connector | Starting and electrical |
| Cranks but will not start | Brake lever or neutral, fuel, plug | Starter lockout, no fuel, fouled plug, vehicle-down sensor | Starting and electrical |
| FI light on or blinking | Light pattern at key-on | Stored service code (sensor, injector, coil, fuel pump relay) | Service codes |
| Oil in coolant, coolant disappearing | Reserve tank level, drip at the water pump | Water pump mechanical seal or oil seal | Seals and noises |
The checker below follows the same order. It covers 13 symptoms and shows each step with where it comes from, either the service manual or owner reports.
Pick the closest symptom. If the answer says dealer, that is the point where specialty tools or ECU access are needed.
What is your Brute Force doing? Symptom checker
The checker is built from the Kawasaki service manual steps and owner reports in the sections below. It does not read fault codes from your machine, and it cannot replace a dealer scan.
Work on level ground with the engine cool and the key out. Disconnect the battery negative lead before touching harness connectors, and keep hands clear of the CVT and fan while the engine can start.
A neglected belt can lock the transmission and the wheels, and Kawasaki's manual warns this can cause a loss of control. Replace a belt outside its limits instead of riding it home.
Overheating and a fan that does not run
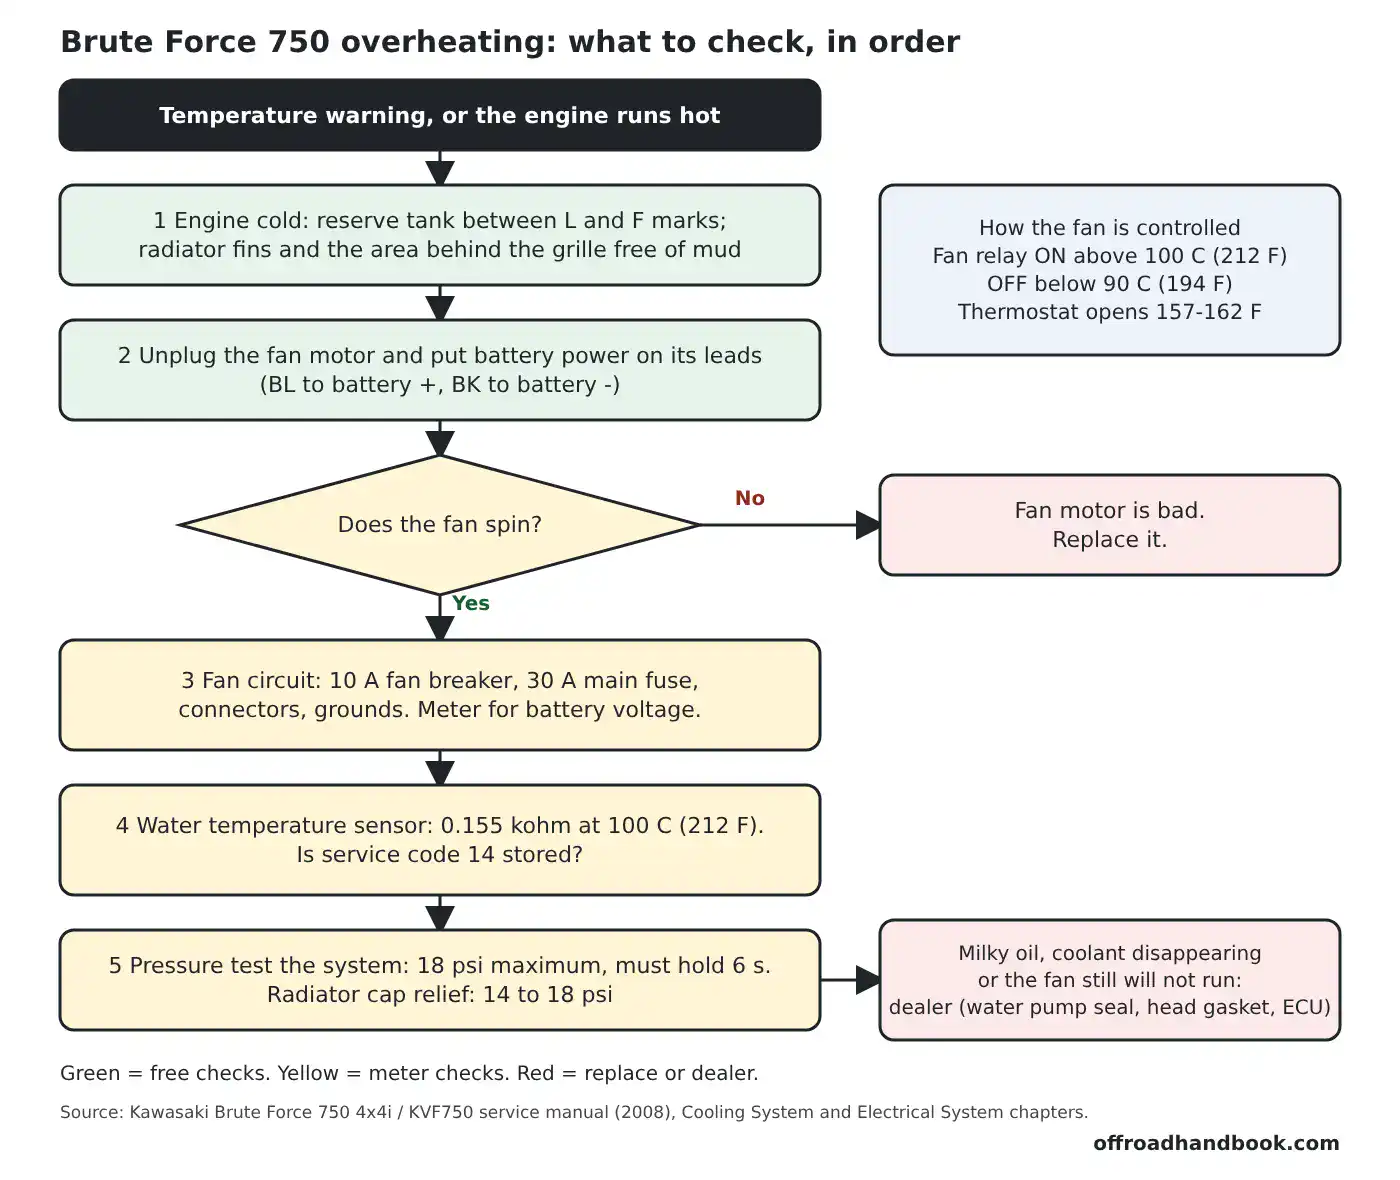
The cooling system is pressurized and thermostat-controlled. Per the manual, the thermostat opens at 69.5 to 72.5°C (157 to 162°F), the fan relay turns the fan on above 100°C (212°F), and the fan stops below 90°C (194°F). The engine can run warm for a while before the fan starts.
The 10 A fan breaker, the 30 A main fuse, the ECU and the fan relay all sit in that fan circuit. A hot engine with a fan that stays off points to the circuit, not necessarily the fan.
Check order for a hot engine
- Wash mud and grass out of the radiator fins, spraying from the back with low pressure. Kawasaki lists the radiator as a regular cleaning item.
- With the engine cold, look at the reserve tank. The level should sit between the L and F marks. Top up with the specified 50/50 mix of permanent-type antifreeze and soft water, never plain water. Needing to top up often means a leak.
- Unplug the fan motor connector and put battery power on the motor leads: BL to battery positive, BK to battery negative. If it does not spin, replace the motor.
- If the motor spins, check the 10 A fan breaker under the seat, the 30 A main fuse, and the connectors and grounds in the fan circuit for corrosion. Kawasaki's breaker test puts 12 V through a 0.6 ohm load, and the breaker must open within 60 seconds or be replaced.
- Check for a stored service code 14 and test the water temperature sensor. It should read 1.136 kΩ (±0.095) at 40°C (104°F) and 0.1553 kΩ (±0.007) at 100°C (212°F).
- Pressure test the cooling system to 18 psi (123 kPa), no higher. It must hold for at least 6 seconds. The radiator cap should open between 14 and 18 psi.
- Oil that looks milky, or coolant that keeps disappearing, means stop riding and have the engine inspected.
Why a bad temperature sensor can leave the fan off
The manual says that if the water temperature sensor circuit fails, the ECU assumes 80°C (176°F). The fan only starts above 100°C. A failed sensor signal can therefore keep the fan from being commanded while the engine really is hot.
That link is an inference from the manual's backup table and fan circuit diagram, not a Kawasaki statement. It is why code 14 and the sensor resistance are worth checking before buying a fan motor.
CVT belt slipping, the belt light and speed limiting
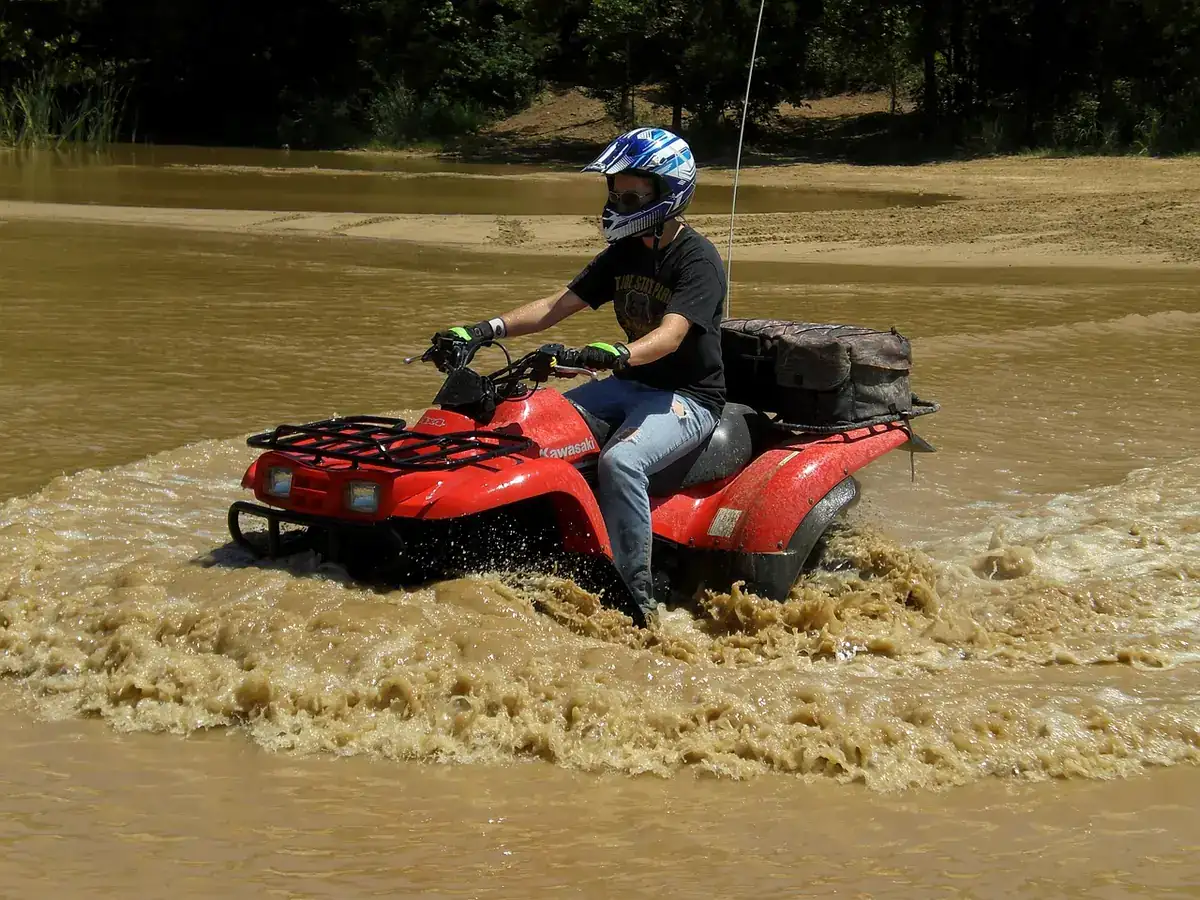
Kawasaki's troubleshooting guide lists the belt slipping causes in this order: a dirty, worn or wet belt, dirty or worn pulley sheaves, and a broken or weak drive pulley spring. Worn weights, rollers and sheave bushings come after that.
Water is the usual trigger after deep crossings. See what to do if water gets into your engine before restarting a machine that was submerged.
Belt and pulley checks from the manual
- Switch the ignition OFF before removing the converter cover. Do not turn the ignition from ON to OFF while the cover is off, because the engine brake control system's learning routine can run and the engine brake actuator can act up.
- Measure the belt width in several places. Standard is 29.7 to 30.3 mm (1.17 to 1.19 in). Replace the belt at 28.0 mm (1.10 in) or less.
- Check for cracks, breaks and peeling. Replace the belt if any abnormal wear spot measures more than 0.5 mm narrower than the rest.
- Measure deflection with the transmission in neutral and the belt at the top of the driven pulley. Push with no more than 59 N (13 lb). Standard is 22 to 27 mm (0.87 to 1.06 in). Less is better than more.
- Adjust with spacers on the driven pulley's fixed sheave. Removing 0.1 mm of spacer lowers deflection about 1.3 mm. Adding 0.1 mm raises it about 1.6 mm. Spacer part numbers are 92026-0034 (0.3 mm), -1569 (0.6), -1617 (0.8), -1565 (1.0) and -1570 (1.4).
- Inspect both pulleys whenever the belt is replaced. Tighten the driven pulley nut to 93 N·m (69 ft·lb) with the holder tools.
Belt light and engine speed limiting
The manual calls for a belt inspection every 90 days of use, or when the belt indicator turns on at about 100 hours. A converter cover carries a drive belt failure detection switch. In its normal ON position the engine runs normally, and engine speed is limited when the switch is OFF.
If an abnormal belt activated the system, the switch is damaged, so replace the converter cover. A tripped switch also appears in the manual's list of causes for weak power at high speed.
2WD and 4WD icons flashing, 4WD not engaging, engine brake
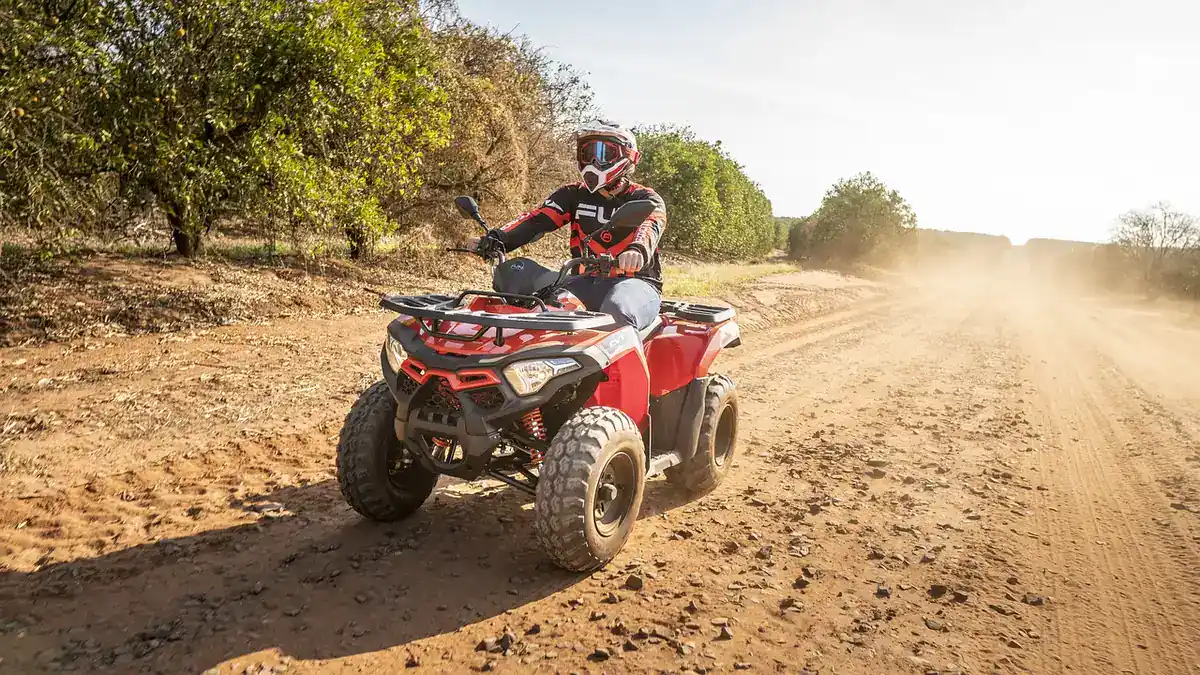
The service manual describes an actuator controller that reads vehicle speed, the 2WD/4WD switch, the ignition and forward or reverse movement. It drives two actuators: the selectable 2WD/4WD actuator and the Kawasaki engine brake actuator.
When an actuator fails, the controller goes into failure mode and the 2WD and 4WD icons alternate. The pattern of the flashing shows whether the 2WD/4WD actuator, the engine brake actuator or both have failed.
| Check | Where to measure | Standard |
|---|---|---|
| Controller power | DC 25 V, connector BR (9) to BK/Y (10), ignition on | Near battery voltage |
| Speed sensor | Rear wheels off the ground; P (5) to BK/Y (10), spin a rear wheel | Repeats 0 to 5 V |
| 2WD/4WD switch | G (7) to BK/Y (10), ignition on | About 5 V in 4WD, 0 V in 2WD |
| Controller output | O (2) to BK/Y (10) | 4.8 ±0.2 V |
| Actuator, terminals 4 and 6 | Actuator connector, 4 (red) to 6 (black) | 3 to 15 ohms |
| Actuator, terminals 1 and 3 | Actuator connector, 1 (orange) to 3 (blue) | 3.5 to 6.5 kΩ |
| 2WD/4WD actuator, terminals 2 and 3 | Actuator connector, 2 (yellow) to 3 (blue) | 630 to 3,720 ohms |
| Engine brake actuator, terminals 2 and 3 | Actuator connector, 2 (yellow) to 3 (blue) | 630 to 5,330 ohms |
Run the checks in that order. If the controller power is not near battery voltage, check the harness, the 30 A fuse and the ignition switch before touching the actuators. If the controller output is not 4.8 V, the controller is the suspect.
Some repair advice says to look for 12 V at the actuator. Kawasaki's procedure measures actuator resistance and the controller's output instead, so a 12 V reading is not the test.
Owners also report that disconnecting the battery for 10 to 15 seconds clears a flashing icon for a while, and that stalling in 4WD traces to corroded BUSS connectors. Both are owner reports, not Kawasaki procedures. See the BUSS notes in the next section.
The front differential lock is mechanical. With a spring scale pulling 30 N (7 lb) on the variable differential control lever and the differential locked, the gap between lever and grip should be 20 mm (0.8 in). Adjust the cable at the locknut if not.
The engine brake actuator lever has a plastic guide shoe that wears. Replace the lever assembly when the guide contact width is more than 6 mm (0.24 in).
Hard starting, no lights and stalling
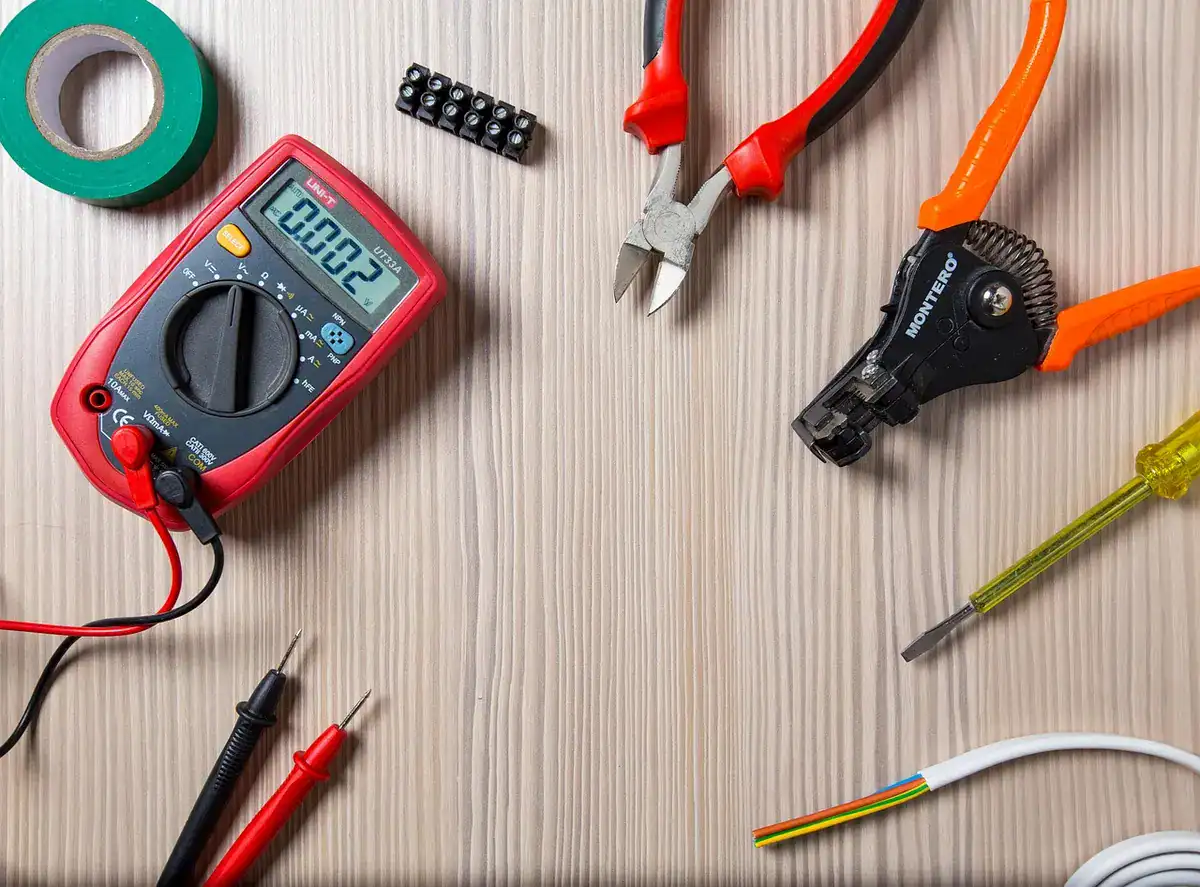
Start with a digital multimeter. Kawasaki's starting troubleshooting guide lists these in this order: ignition and engine stop switches ON, the starter lockout and neutral switches, battery voltage, the starter relays, the starter button, wiring, and the 30 A main fuse.
- Turn the ignition and the engine stop switch ON. Squeeze the brake lever, press the brake pedal, or shift to neutral, because the starter lockout needs one of them.
- Check battery voltage at rest. The battery is a sealed KMX14-BS, 12 V 12 Ah, and should read 12.8 V or more. Clean the terminals and the frame and engine grounds.
- With the engine running, charging voltage at the battery should be 14 to 15 V.
- Check the 30 A main fuse and the 10 A fuel pump fuse in the fuse box.
- Cranks but no spark: check that the vehicle-down sensor is seated, then the spark plug. The plug is an NGK CR7E with a 0.7 to 0.8 mm (0.028 to 0.031 in) gap.
- Still no spark, with the plug and sensor good: ECU power and ground, then ignition coils and the crankshaft sensor. Kawasaki says to replace the ECU only after those pass.
Idle speed should be 1,100 ±50 rpm, and valve clearance is 0.10 to 0.15 mm (intake) and 0.20 to 0.25 mm (exhaust) per the same manual. A quad that surges or backfires with a good plug and battery is worth a valve check.
Starter motor brushes measure 12 mm (0.47 in) new and are worn out at 6.5 mm (0.26 in). That job, like the ECU checks, is where most owners hand the machine to a shop.
Corroded BUSS connectors (owner-reported)
Owners have found corrosion inside the white plastic BUSS joint connectors taped into the harness, one near the front fender area and one under the rear right fender. Reported symptoms are dead dash lights, blown fuses, a fan that does not run, weak charging and stalling in 4WD. A long Brute Central thread describes the problem.
This is not in the Kawasaki manual, so treat it as a place to look after the manual's checks pass.
- Disconnect the battery, open each connector and look for white or green corrosion on the metal contacts.
- Clean the contacts or replace the connector. Some owners splice the wires with sealed connectors instead.
- Reassemble with dielectric grease and seal the joint with tape or heat-shrink.
FI light and service codes
At key-on the FI light should come on for 1 to 2 seconds and go off. If it blinks right after key-on and stays on, or goes off after about 10 seconds, the manual says that is a DFI problem. If it never lights, suspect the light, the ECU or its wiring.
Dealers read codes by grounding the self-diagnosis terminal and counting flicks on a hand tester. The 2008 manual lists these codes. Codes shown on later machines or in owner threads are not in that table, so ask a dealer for your model year.
| Code | Meaning | What the ECU does |
|---|---|---|
| 11 | Throttle sensor, wiring open or short | Locks ignition timing and changes the fuel method |
| 12 | Inlet air pressure sensor | Switches to a different fuel method |
| 13 | Inlet air temperature sensor | Assumes 30°C (86°F) |
| 14 | Water temperature sensor | Assumes 80°C (176°F) |
| 21 | Crankshaft sensor | Engine stops |
| 24 | Speed sensor | Speedometer reads 0 |
| 31 | Vehicle-down sensor | Shuts off the fuel pump (no start or stall) |
| 41 | Injector, wiring open or short | Not listed in the backup table |
| 46 | Fuel pump relay stuck | Not described in the backup table |
| 51 / 52 | Ignition coil 1 / 2 | Shuts off that cylinder's injector; engine keeps running on one cylinder |
A fault in the fuel pump, the ECU main relay, the injectors or the ECU power and ground wiring will not store a code at all. If no code shows, the manual says the electrical parts of the DFI system have no fault and the mechanical parts are suspect.
Oil in coolant, coolant in oil and engine noises
On the Brute Force 750 the water pump is coupled with the oil pump. The manual says to check the drainage catch tank at the bottom of the water pump body, and a coolant leak there means the mechanical seal is damaged.
The seal, the oil seal and the ball bearing must all be replaced together. If the inspection hole is blocked by the new oil seal, coolant can pass through it into the crankcase. Owners also trace an oil leak near the left rear of the engine to a seal between the oil and coolant passages, which is an owner report.
Mixed oil and coolant can damage the engine quickly. If the oil looks milky or the reserve tank empties, stop riding and have it inspected.
- Whine or rattle that changes with throttle: belt, pulley sheaves, bushings, weights and rollers, per the converter noise list in the manual.
- Clunks or clicks when turning or accelerating: inspect the front axle, knuckle and propeller shaft joint boots, then wheel bearings.
- Noise from the front or rear gear case: low or wrong oil is listed first. Front gear case takes 0.40 L (0.42 qt) of 10W-40, rear takes 0.72 L (0.76 qt) of the tractor hydraulic fluid the manual names.
- Knock rising with engine speed: carbon buildup, wrong fuel, the wrong plug or overheating are listed causes. Check the oil for metal and have it diagnosed before any rebuild.
Service numbers at a glance
These figures are from the 2008 service manual. Check the number against your owner's manual for later years.
| Item | Standard | Manual section |
|---|---|---|
| Coolant | Green permanent-type antifreeze, 50/50 with soft water, 2.2 L (2.3 US qt) total | Cooling System |
| Radiator cap relief pressure | 93 to 123 kPa (14 to 18 psi) | Cooling System |
| Thermostat opens | 69.5 to 72.5°C (157 to 162°F) | Cooling System |
| Fan relay | On above 100°C (212°F), off below 90°C (194°F) | Cooling System |
| Fan breaker / main fuse | 10 A / 30 A | Electrical System |
| Belt width | 29.7 to 30.3 mm; limit 28.0 mm | Periodic Maintenance |
| Belt deflection | 22 to 27 mm at 59 N (13 lb) push | Periodic Maintenance |
| Driven pulley nut | 93 N·m (69 ft·lb) | Periodic Maintenance |
| Battery / charging | KMX14-BS, 12 V 12 Ah; 12.8 V or more; 14 to 15 V charging | Electrical System |
| Spark plug | NGK CR7E, gap 0.7 to 0.8 mm | General Information, Electrical |
| Engine oil | SAE 10W-40; 2.1 L (2.2 qt) without filter change, 2.2 L (2.3 qt) with | Periodic Maintenance |
| Valve clearance (cold) | Intake 0.10 to 0.15 mm; exhaust 0.20 to 0.25 mm | Periodic Maintenance |
Valve clearance is first checked at 1,700 km (1,100 miles) and then every 3,400 km (2,200 miles) per the manual's maintenance chart.
Stock tires are AT25x8-12 front and AT25x10-12 rear. For bigger tires, use the tire size calculator and read the ATV tire size guide.
How the 2008 and 2023 machines compare
The core layout stayed the same, a 749 cc liquid-cooled V-twin with a CVT and selectable 2WD/4WD with a variable-control front differential lock. Some numbers moved between the two documents.
| Item | 2008 KVF750 (service manual) | 2023 4x4i EPS (Kawasaki spec sheet) |
|---|---|---|
| Compression ratio | 8.8 : 1 | 9.3 : 1 |
| Torque | 45 ft·lb at 4,500 rpm | 42.7 lb-ft at 4,750 rpm |
| Ground clearance | 9.72 in | 9.4 in |
| Wheelbase / seat height | 50.55 in / 35.6 in | 50.6 in / 35.8 in |
| Weight | 651 lb curb (327 front, 324 rear) | 699 lb curb, with EPS |
| Suspension travel front / rear | 6.73 in / 7.87 in | 6.7 in / 7.5 in |
| Fuel tank | 5.0 US gal | 5.0 gal |
| Towing capacity | Not in the service manual | 1,250 lb |
Weights and torque ratings are published on different bases, so compare them loosely. The 2008 manual does not list a US horsepower figure.
Brute Force 750 recalls
The US Consumer Product Safety Commission has posted four recalls that include the Brute Force 750. Check your VIN with a Kawasaki dealer or at 866-802-9381, since the repairs are free.
| Date | CPSC no. | Models | Hazard and remedy |
|---|---|---|---|
| Feb 28, 2005 | 05-545 | About 9,500 Brute Force 750 4x4i built Apr 26 to Sep 10, 2004 | Front upper arm pivot nut can loosen and cause loss of steering control. Free inspection and repair. Notice |
| Dec 8, 2005 | 06-515 | About 21,900 2005 KVF750-A1 and B1 | Tie rod separation can detach the front wheel from steering control. Free repair. CPSC |
| Jun 20, 2017 | 17-751 | About 6,600 2017 Brute Force 750 (4x4i, 4x4i EPS, EPS Camo) plus Teryx and Mule models | Fuel gauge retainer can collapse and leak fuel. Repair at no cost. CPSC |
| Apr 22, 2021 | 21-738 | About 70 2021 Brute Force 750 4x4i EPS (KVF750GMFNN, HMFNN, JMFNN) | Fuel pump retainer plate bolts can loosen and leak fuel, a fire hazard. Free bolt replacement. CPSC |
FAQs
Mud in the radiator and low coolant come first. Then check that the fan spins on battery power, the 10 A fan breaker and 30 A main fuse, and the temperature sensor. The fan only starts above 100°C (212°F) per Kawasaki's manual.
The controller shows the two icons alternately when the 2WD/4WD actuator, the engine brake actuator or both fail. Check controller power, the speed sensor, the shift switch and the actuator resistance.
Check the battery and fuses, then the shift switch and actuator measurements in the table above. Owners also report corroded BUSS connectors as a cause.
Kawasaki calls for a belt inspection when the belt light turns on, at about 100 hours of use. Replace a belt narrower than 28.0 mm (1.10 in), and replace the converter cover if the belt failure switch was activated.
Yes, four. They cover 2004 and 2005 models for steering parts, 2017 models for a fuel gauge retainer and 2021 models for fuel pump bolts. Check your VIN with a Kawasaki dealer.
Related guides
- 8 Common Kawasaki Prairie 360 Problems and How to Fix Them Yourself
- Kawasaki Teryx4 Problems: 8 Common Issues and How to Fix Them
- Free off-road calculators

I'm Suryashankar Dasgupta, the founder of Off-Road Handbook. I've been off-roading for years in the USA, including California and Texas, and have ridden mountain and desert terrain abroad. I've also driven a Jeep Compass for more than seven years, so I know the day-to-day side of Jeep ownership first-hand, from the Uconnect screen to the warning lights. Every guide here is researched from manufacturer owner's manuals, NHTSA recall and service-bulletin records and other trusted sources, checked against them before it is published, and corrected when we find a mistake. You can read how we work in our editorial policy: https://offroadhandbook.com/editorial-policy/
Like our off-road guides? Add Off-Road Handbook as a Google Preferred Source so our latest Jeep, ATV, UTV, trail, recovery, and off-road troubleshooting articles can appear more often in your Google Search experience.
Add us as a Preferred Source